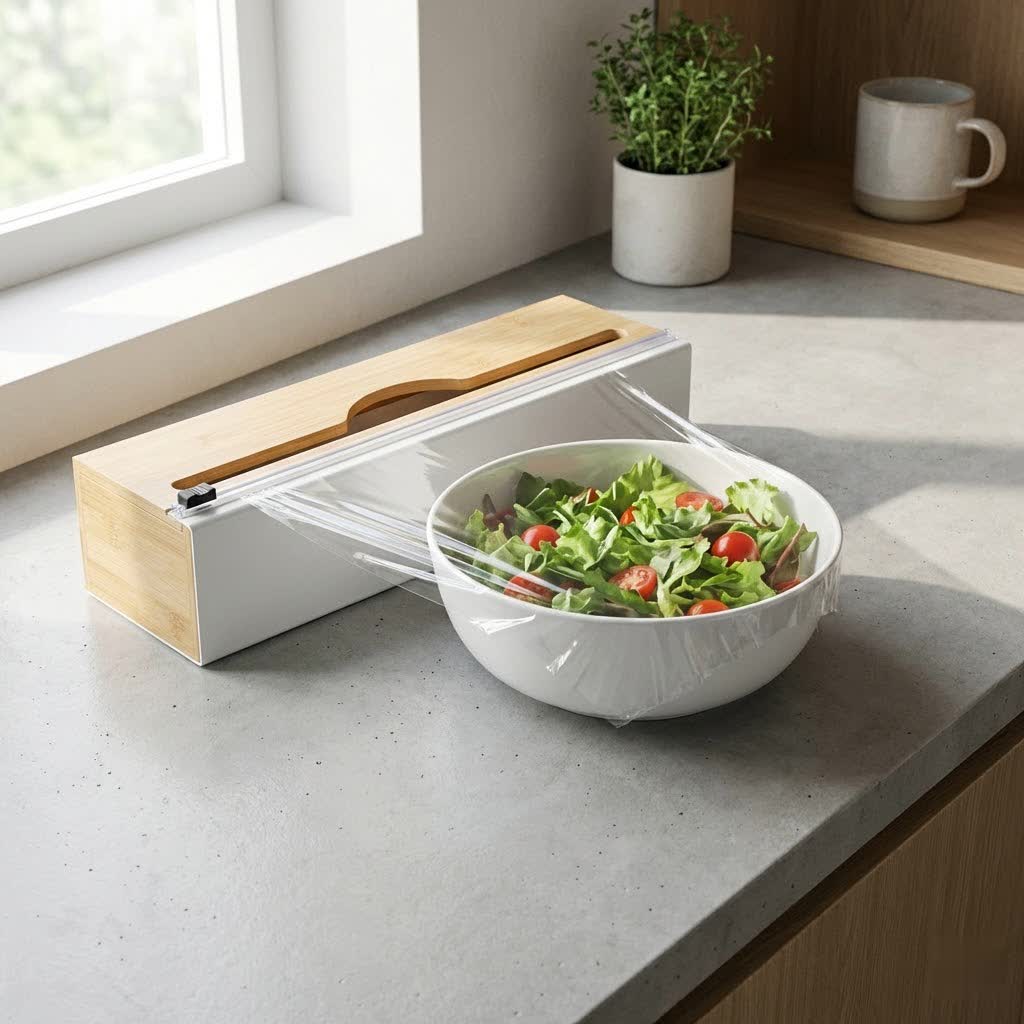
Few kitchen frustrations compare to battling a faulty cling film dispenser. One moment, you’re effortlessly covering leftovers, and the next, you’re wrestling with a jagged tear, a dull blade, or a completely detached cutter. It’s a common annoyance that wastes time, film, and tests your patience. But before you toss that frustrating box, consider that many common issues can be resolved with simple, practical DIY fixes. This guide will walk you through common cling film box cutter problems and empower you with straightforward solutions to get your kitchen essential back in working order.
Understanding Your Cling Film Dispenser’s Anatomy and Common Problems
Cling film dispensers typically come in two main forms: the familiar cardboard box with a built-in serrated metal edge, or more robust standalone dispensers that often feature a sliding blade. Both types are designed for convenience, but both are also susceptible to wear and tear.
Common issues include blades that become dull and fail to cut cleanly, cutter strips that detach from the box, or the entire cardboard dispenser becoming flimsy and collapsing under pressure. Additionally, problems like the film sticking to itself or the roll constantly slipping out of the box can impede smooth dispensing. Identifying the specific problem is the first step toward finding the right solution, transforming your kitchen struggles into a quick win.
DIY Fixes for Common Cling Film Box Cutter Issues
Don’t let a broken cutter dictate your kitchen routine. Many common issues can be addressed with simple tools and a little ingenuity, saving you money and extending the life of your dispenser.
Reviving a Dull Serrated Blade
A dull serrated blade is perhaps the most common culprit behind frustrating tears and uneven cuts. The good news is, you might not need a new box just yet.
- Flip the Blade: Many serrated metal cutter strips are designed with two cutting edges. If one side feels dull, carefully remove the strip (if possible) and flip it over to utilize the sharper, unused edge. This simple trick can often provide a fresh cutting surface and significantly improve performance.
- Trim the Cardboard: Sometimes, the issue isn’t the blade itself, but rather the cardboard lip directly in front of it. Over time, this cardboard can become worn or bent, interfering with the cutting action. Using a craft knife or a pair of sharp scissors, carefully trim a small, thin strip of cardboard (about 1/8 to 1/4 inch) from the edge directly beneath the serrated blade. This creates a clearer path for the film and allows the blade to engage more effectively.
- Alternative Cutting Methods: If your serrated blade is beyond repair or repeatedly causes issues, don’t despair. A pair of sharp kitchen scissors kept specifically for this purpose can be a reliable backup. For larger rolls or a more controlled cut, a utility knife and a sturdy cutting board offer precision, though care should always be taken with sharp objects.
|
Our Picks for the Best Food wrap in 2026
As an Amazon Associate I earn from qualifying purchases.
|
||
| Num | Product | Action |
|---|---|---|
| 1 | Kirkland Signature Food Wrap Premium |

|
| 2 | Amazon Basics Plastic Food Wrap, BPA Free, Microwave Safe with Tight Seal, 300 Sq Ft, Pack of 3, 100 Sq Ft Rolls |
|
| 3 | Reynolds 912 Foodservice Clear Plastic Wrap Film, 15 inch Width, 2000 Feet |
|
| 4 | Kirkland Signature Plastic Food Wrap - 6000 SQ. FT (2 Pack, 12" x 3000 SQ. FT Each) |
|
| 5 | Glad Press'N Seal Food Plastic Wrap, 70 Square Foot Roll (Package May Vary) |
|
| 6 | Plastic Food Wrap Thick Enough for daily use Stronger for Comercial Use Durable With Slide Cutter 12"wide 2000 Feet long Home and Commercial Use Food Service |
|
| 7 | Amazon Basics Plastic Food Wrap, BPA Free, Microwavable, 200 Sq Ft, Pack of 1 |
|
| 8 | Glad Cling N Seal Plastic Wrap for Food, Airtight Seal, 300 Square Foot Roll (Pack of 4) |
|
| 9 | Reynolds Kitchens Quick Cut Plastic Wrap, 225 Square Feet |
|
| 10 | Kirkland Signature Stretch Tite Plastic Food Wrap 11 7/8 Inch X 750 SQ. FT. Pack 2 |
|
Reattaching or Reinforcing a Loose Cutter Strip
A detached or loose cutter strip renders your dispenser virtually useless. However, resecuring it is often a straightforward task.
- Strong Adhesives: For a detached metal strip, a strong, quick-drying adhesive like super glue or even hot glue can effectively reattach it to the cardboard box. Apply a thin, even bead of glue along the original line where the strip was attached, then firmly press the cutter back into place. Hold it for a few seconds to allow the glue to set. For a more durable, food-safe bond, consider a two-part food-safe epoxy.
- Stapling for Security: If glue isn’t holding, or for added reinforcement, a few staples can work wonders. Carefully position the cutter strip back into place and use a stapler to secure it to the cardboard. Aim for staples along the length of the strip, ensuring they penetrate the cardboard without interfering with the film’s path.
- Reinforce Flimsy Boxes: Cardboard boxes can degrade quickly, especially with frequent use or exposure to moisture. To prevent the cutter from detaching again, or if the box itself is weakening, reinforce it with clear packing tape. Wrap tape around the entire box, paying extra attention to the edges and the area around the cutter strip. This adds structural integrity and extends the box’s life.
Addressing Roll Instability and Film Sticking
Beyond the cutter, issues with the film roll itself can be equally frustrating. A roll that slips, sticks, or wrinkles can make wrapping food a chore.
- Utilize Side Tabs: Many cling film boxes feature small, punch-in tabs on the short ends. These tabs are designed to hold the roll’s cardboard core securely in place, preventing it from sliding out or moving excessively during dispensing. Ensure these tabs are properly engaged.
- Add Clips or Inserts: If your box lacks effective tabs or they’ve worn out, improvise. Small binder clips placed between the roll and the inner sides of the box can act as wedges, keeping the roll firmly centered. For a more permanent solution, you can create small cardboard inserts or use rubber bands to add tension and prevent the roll from shifting.
- Keep it Dry: Static electricity and moisture can cause cling film to stick to itself prematurely, making it difficult to unroll smoothly. Store your cling film in a cool, dry place. If static is a persistent problem, briefly placing the roll in the refrigerator before use can help minimize static build-up.
- Clean the Cutting Edge: If your plastic wrap isn’t sticking well to the cutting edge, making it hard to initiate a clean tear, the edge might be dirty or oily. Wipe the cutting edge with a small amount of rubbing alcohol on a paper towel or cloth. This can help restore its grip, allowing the film to adhere better before cutting.
Upgrading Your Dispenser for Better Performance (DIY Enhancements)
Sometimes, the best fix for a broken cutter is an upgrade. If your original cardboard box is constantly failing, consider a more robust, long-term DIY solution.
- Build a Custom Wooden Dispenser: For the handy DIY enthusiast, constructing a custom wooden dispenser can offer unparalleled durability and functionality. These often feature a sturdy wooden dowel to hold the roll and a dedicated slot for a replaceable slide cutter. This project allows for personalization, creating a dispenser that perfectly fits your kitchen and roll sizes.
- Add a Separate Slide Cutter: Many commercial-grade cling film dispensers use a reliable sliding blade system. You can purchase these slide cutters separately and attach them to a homemade dispenser or even reinforce an existing heavy-duty cardboard box with one. Some innovative designs even allow you to insert thin razor blades into 3D-printed cutter replacements for ultimate sharpness.
- Create Magnetic “Floating” Storage: To free up drawer space and keep your cling film easily accessible, repurpose an old cling film box. Cut down an empty box to create a slim insert, tape strong craft magnets to it, and then slide this insert into the side of a new cling film box. This allows the dispenser to stick neatly to any metal surface, like your refrigerator, providing a convenient “floating” storage solution.
When to Consider a Replacement or Upgrade
While DIY fixes are excellent for extending the life of your existing dispenser, there comes a point when a replacement or upgrade is the most practical choice. If your cardboard box is too severely damaged, or the blade mechanisms of a reusable dispenser are beyond simple repair, investing in a new solution can save you ongoing frustration. Modern dedicated dispensers often feature safer enclosed blades, better roll stability, and more durable materials like plastic or bamboo. Exploring eco-friendly alternatives like beeswax wraps or reusable silicone covers also presents an opportunity to minimize plastic waste while enhancing food preservation.
Expert Tips for Longevity and Optimal Use
To maximize the lifespan of your cling film dispenser and ensure smooth operation, adopting a few best practices can make a significant difference. Always pull the film gently and steadily, maintaining slight tension to prevent tearing. For serrated cutters, a slight diagonal motion can often yield a cleaner cut. Storing your dispenser in a clean, dry area away from direct heat or excessive moisture will also prevent the cardboard from degrading and the film from sticking. Investing in high-quality cling film and considering a sturdy, dedicated dispenser can transform your food wrapping experience from a chore into a seamless task.
“A well-maintained cling film dispenser not only saves you time and frustration but also helps reduce food waste by making food preservation effortless.”
Frequently Asked Questions
What makes a cling film cutter dull?
Cling film cutters, especially the serrated metal strips found on cardboard boxes, become dull primarily due to repeated friction against the plastic film and the cardboard itself. Over time, the sharp points wear down, leading to ineffective cutting and frustrating tears. Mishandling, such as pulling the film at an awkward angle or using excessive force, can also accelerate the dulling process.
Can I replace just the blade on my cling film box?
For standard cardboard cling film boxes with serrated metal strips, directly replacing just the blade is often not practical or designed for. However, you can sometimes carefully remove, flip, and reattach the existing strip to utilize a sharper edge. For more advanced plastic or wooden dispensers, some models are designed with replaceable slide cutters or allow for the insertion of generic utility blades, offering a more permanent solution.
How can I stop my cling film roll from falling out of the box?
To prevent your cling film roll from constantly falling out, first, ensure the internal side tabs of the cardboard box are pushed in, as they are designed to secure the roll. If these are ineffective, you can place small binder clips or custom-cut cardboard inserts between the roll and the inner walls of the box to create a snug fit. Additionally, some users find that storing the box upside down helps keep the roll in place.