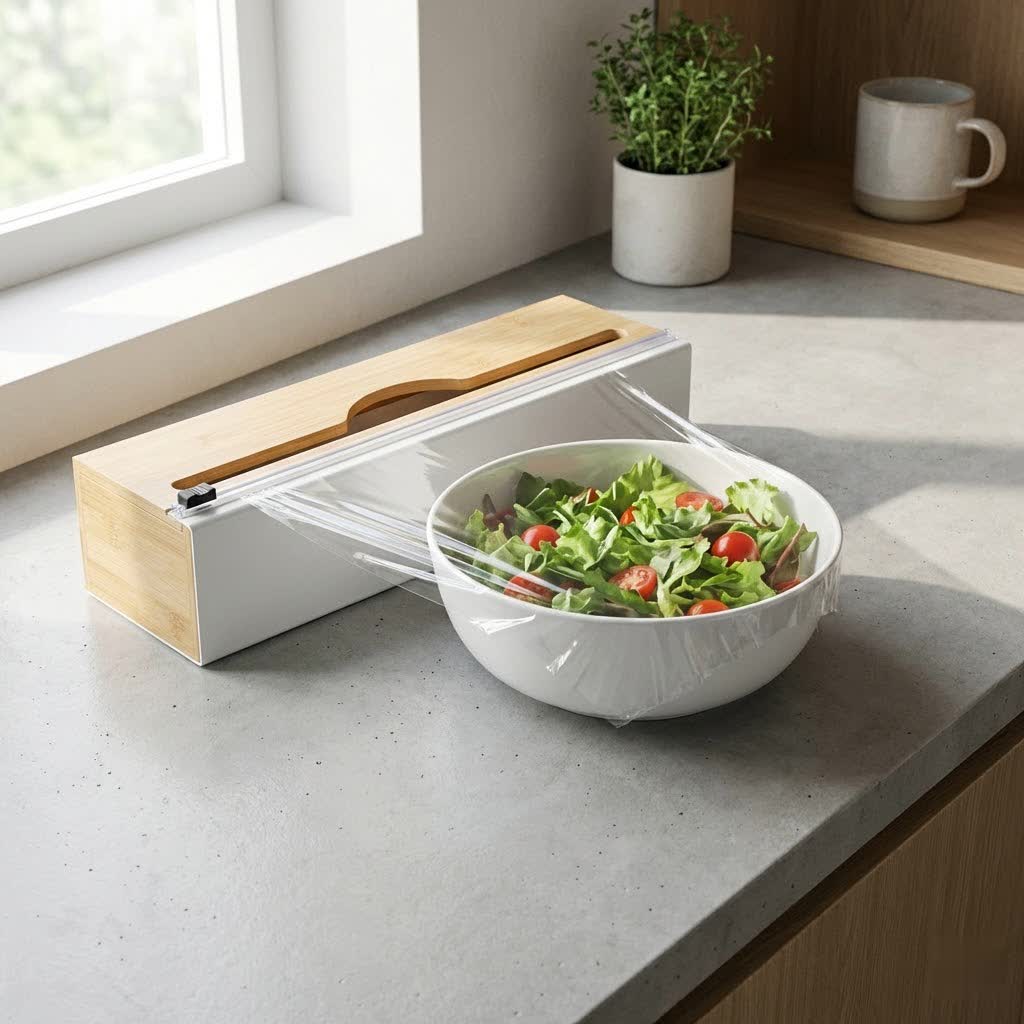
Are you tired of battling a chaotic kitchen drawer overflowing with tangled rolls of plastic wrap, crumpled aluminum foil, and elusive parchment paper? You’re not alone. This universal kitchen conundrum can turn a simple task into a frustrating treasure hunt. But what if you could transform that jumbled mess into a picture of organized efficiency with a few simple, budget-friendly DIY tricks? This article will guide you through practical and creative solutions to declutter and organize your food wrap drawer, bringing peace back to your kitchen and streamlining your meal prep. Beyond just tidying up, we’ll also delve into understanding the different types of food wrap available, how to choose the safest options, and eco-conscious alternatives to help you make informed decisions for a more sustainable home.
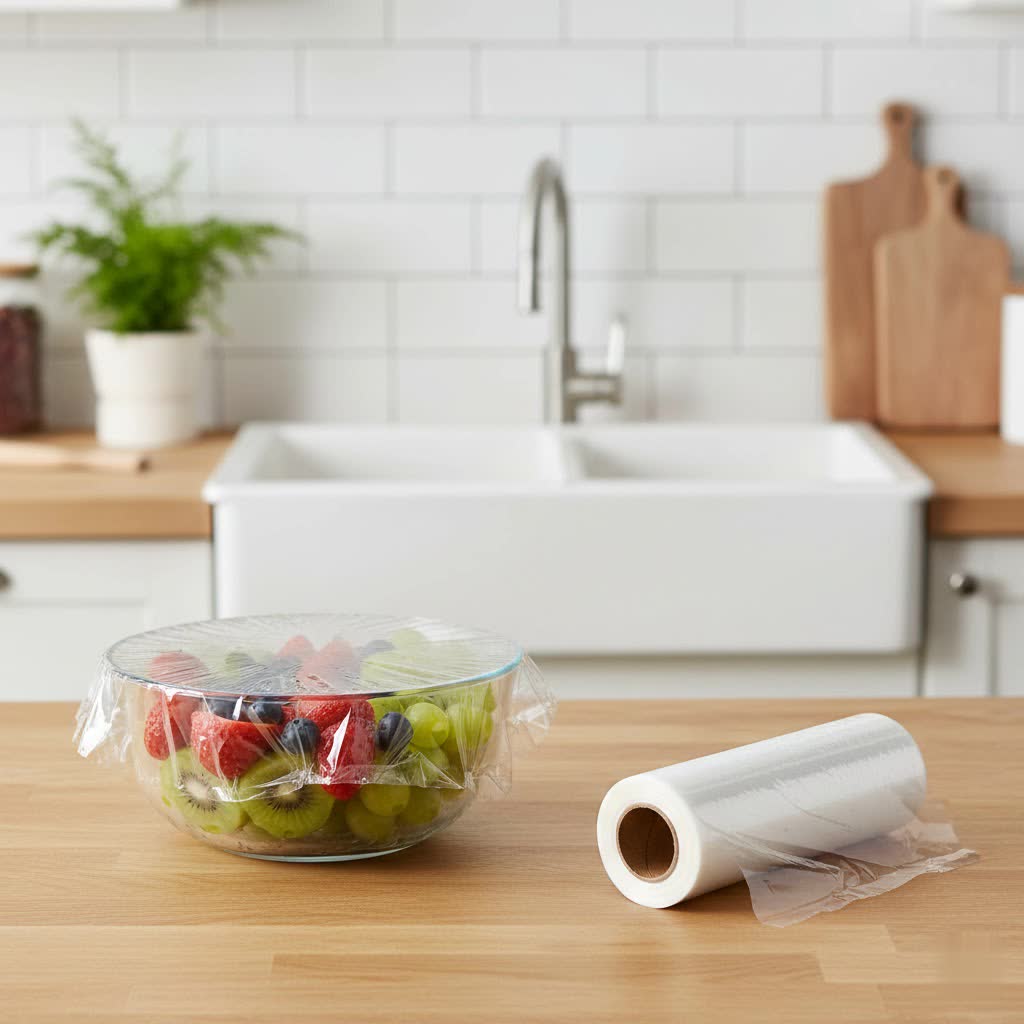
Food Wrap – A Convenient Solution for Every Home
Food wraps are indispensable kitchen companions, essential for preserving leftovers, prepping meals, and protecting food from air and moisture. From keeping cut fruits fresh to covering casseroles for reheating, these versatile films play a crucial role in extending food’s shelf life and reducing waste. However, their very utility often leads to a storage challenge, as various sizes and types accumulate, creating the notorious “wrap drawer dilemma.” Understanding the different materials and their best uses is the first step toward better management and organization.
Popular Types of Food Wrap
The market offers a diverse range of food wraps, each with distinct properties. Knowing their composition, advantages, and limitations can help you make better choices and, consequently, better organize your storage.
- Polyethylene (PE) Plastic Wrap: This is perhaps the most common type found in homes. Made from low-density polyethylene (LDPE) or linear low-density polyethylene (LLDPE), PE wrap is naturally flexible and does not typically require added plasticizers. It’s generally considered a safer option for food contact due to its stable polymer structure. PE wrap offers good cling and is widely used for everyday food storage, though its heat resistance varies.
- Polyvinyl Chloride (PVC) Plastic Wrap: More common in commercial or deli settings, PVC wrap is known for its superior cling and stretch. To achieve its flexibility, PVC often incorporates plasticizers, historically including phthalates. While offering excellent sealing capabilities, the potential for plasticizer migration into food, especially fatty items, has led to increased scrutiny and regulatory changes, with many phthalates being phased out from food contact applications by regulatory bodies like the FDA.
- Silicone Wraps and Lids: A durable and reusable alternative, food-grade silicone wraps and lids are gaining popularity. Silicone is highly heat-resistant, flexible, and free from common plastic chemicals like BPA and phthalates. These wraps can be stretched over bowls and containers, creating an airtight seal, and are often dishwasher-safe, making them a sustainable and convenient choice for modern kitchens.
- Beeswax Wraps: For those seeking an eco-friendly, natural option, beeswax wraps are an excellent choice. Crafted from cotton fabric infused with beeswax, jojoba oil, and tree resin, these wraps are reusable, biodegradable, and compostable. They offer a breathable seal, ideal for preserving items like cheese, bread, and fruits, by molding with the warmth of your hands. They are, however, not suitable for hot food or microwave use and require gentle hand washing.
|
Our Picks for the Best Food wrap in 2026
As an Amazon Associate I earn from qualifying purchases.
|
||
| Num | Product | Action |
|---|---|---|
| 1 | Kirkland Signature Stretch Tite Plastic Food Wrap 11 7/8 Inch X 750 SQ. FT. Pack 2 |

|
| 2 | Amazon Basics Plastic Food Wrap, BPA Free, Microwave Safe with Tight Seal, 300 Sq Ft, Pack of 3, 100 Sq Ft Rolls |
|
| 3 | Reynolds Kitchens Quick Cut Plastic Wrap, 225 Square Feet |
|
| 4 | Kirkland Signature Plastic Food Wrap - 6000 SQ. FT (2 Pack, 12" x 3000 SQ. FT Each) |
|
| 5 | Glad Cling N Seal Plastic Wrap for Food, Airtight Seal, 300 Square Foot Roll (Pack of 4) |
|
| 6 | Plastic Food Wrap Thick Enough for daily use Stronger for Comercial Use Durable With Slide Cutter 12"wide 2000 Feet long Home and Commercial Use Food Service |
|
| 7 | Kirkland Signature Food Wrap Premium |
|
| 8 | Glad Press'N Seal Food Plastic Wrap, 70 Square Foot Roll (Package May Vary) |
|
| 9 | Amazon Basics Plastic Food Wrap, BPA Free, Microwavable, 200 Sq Ft, Pack of 1 |
|
| 10 | Reynolds 912 Foodservice Clear Plastic Wrap Film, 15 inch Width, 2000 Feet |
|
Criteria for Choosing Quality Food Wrap
Selecting the right food wrap goes beyond just its material; it involves considering its impact on health, performance, and practicality.
- Health Safety: The paramount concern when choosing food wrap is its safety for your family. Always look for certifications like FDA (Food and Drug Administration) approval in the US or LFGB (Lebensmittel-, Bedarfsgegenstände- und Futtermittelgesetzbuch) in Europe, which denote that the material is food-grade. Crucially, opt for wraps labeled “BPA-free” and “phthalate-free” to avoid potential exposure to these chemicals, which have been linked to health concerns like hormonal disruption. While many plastic wraps have moved away from these, diligence in checking labels is key.
- Durability and Clinginess: A good food wrap should be resilient enough not to tear easily and possess adequate cling to form a secure seal around dishes or food items. PE wraps generally provide good cling, while PVC is known for its superior adhesive qualities. Reusable options like silicone or beeswax wraps offer their own form of durability, designed for repeated use.
- Heat Resistance: Consider where you plan to use the wrap. If microwaving is a regular part of your routine, ensure your plastic wrap is explicitly labeled “microwave-safe.” Traditional plastic wraps can melt or leach chemicals when exposed to high heat. Silicone wraps, on the other hand, are generally highly heat-resistant, making them versatile for reheating. Beeswax wraps are not heat-resistant and will melt in a microwave or with hot food.
- Convenience: Ease of use is a significant factor. Does the wrap dispense smoothly? Is it easy to cut? For reusable options, is it simple to clean and store? Wraps that can be reused, like silicone and beeswax, offer long-term convenience and cost savings, despite their higher initial investment.
Comparing Popular Food Wrap Brands
While specific brand availability varies by region, here’s a general comparison across common types of food wraps, highlighting key features you might find. This table uses illustrative examples rather than direct brand recommendations, focusing on typical characteristics.
| Brand Type (Example) | Material | Size (Approx.) | Est. Price Range | Pros | Cons |
|---|---|---|---|---|---|
| Standard PE Wrap (e.g., Wrap-It) | PE | 12″ x 250 ft | Affordable | Widely available, budget-friendly, good general use | Moderate cling, not always strongest for heavy use |
| Premium PE Wrap (e.g., Glad Press’n Seal) | PE | 12″ x 140 ft | Moderate | Strong cling, versatile (e.g., can cover odd shapes) | Higher price point than basic PE wrap |
| Heavy-Duty Foil (e.g., Reynolds Wrap) | Aluminum | 12″ x 75 ft | Moderate | Excellent for baking, grilling, freezer storage | Not microwave safe, crumbles easily if not handled carefully |
| Silicone Lids/Wraps (e.g., Stasher, Zip Top) | Silicone | Various (sets) | Higher | Reusable, heat-resistant, airtight, eco-friendly | Higher upfront cost, can absorb odors over time |
| Beeswax Wraps (e.g., Bee’s Wrap) | Beeswax, Cotton | Various (sets) | Higher | Natural, reusable, breathable, compostable | Not for hot food/microwave, higher upfront cost, requires handwashing |
How to Use Food Wrap Correctly
Proper usage of food wrap is crucial not only for preserving food quality but also for safety.
- For Freshness: When wrapping food to extend its freshness, aim for a tight seal to minimize air exposure. For items like cut vegetables or sandwiches, a snug wrap prevents dehydration and spoilage. For bowls of leftovers, ensure the wrap covers the entire opening without gaps.
- Microwave Safety: If using plastic wrap in the microwave, always check for a “microwave-safe” label. Even then, avoid direct contact between the wrap and the food, especially with high-fat or high-sugar items, as these can heat rapidly and cause the plastic to melt or leach chemicals. Leave a small gap or poke a few holes in the wrap to allow steam to escape, preventing pressure buildup and potential burns. Keep heating times short and use lower power settings. Never use aluminum foil, commercial PVC wraps, or plastic storage bags in the microwave.
- Freezer Use: Aluminum foil and specific freezer-safe plastic wraps are excellent for preventing freezer burn. Double-wrapping can add an extra layer of protection against moisture loss. Beeswax wraps are generally not recommended for extended freezer storage due to their breathable nature.
- Reusing Wraps (if applicable): For reusable options like silicone or beeswax wraps, proper cleaning is key. Wash silicone wraps in the dishwasher or with warm soapy water. Beeswax wraps should be gently hand washed with cool water and mild soap, then air-dried. Avoid hot water, which can melt the wax coating.
Eco-Friendly Food Wraps
In an age of growing environmental consciousness, exploring eco-friendly alternatives to traditional single-use plastic wraps is vital. These options not only reduce waste but often come with health benefits.
- Biodegradable/Compostable Cling Film: Made from plant-based materials, these wraps are designed to break down into organic matter in commercial composting facilities, leaving no harmful residues. They offer a performance similar to conventional plastic wrap but with a significantly reduced environmental footprint. However, check local composting availability, as not all areas have the facilities required for their breakdown.
- Beeswax Wraps: As discussed, these are a fantastic reusable and natural option. Their compostability at the end of their lifespan makes them a truly zero-waste choice.
- Silicone Wraps and Lids: Highly durable and endlessly reusable, silicone products stand out for their longevity. Their ability to withstand extreme temperatures means they can replace plastic wrap in various scenarios, from food storage to microwave reheating, minimizing disposable waste.
- Glass Containers with Lids: While not a “wrap,” glass containers with airtight lids are a superior eco-friendly storage solution, completely eliminating the need for single-use wraps in many situations. They are reusable, durable, and do not leach chemicals into food.
- Reusable Fabric Bowl Covers: Often made from cotton or other natural fibers, these covers are a charming and sustainable way to cover bowls for picnics or refrigerator storage. Many are washable and come in various patterns.
By embracing these eco-friendly options, you contribute to a healthier planet by reducing plastic pollution and supporting sustainable practices in your kitchen.
Where to Buy Food Wrap
Whether you’re stocking up on traditional wraps or exploring eco-friendly alternatives, food wraps are readily available through various channels.
- Supermarkets and Grocery Stores: Most major grocery retailers carry a wide selection of conventional plastic wrap (PE and sometimes PVC), aluminum foil, and parchment paper. Some may also offer basic brands of beeswax wraps or silicone lids.
- Specialty Stores: Health food stores, kitchen supply shops, and eco-friendly boutiques are excellent places to find a broader range of sustainable options, including high-quality beeswax wraps, advanced silicone products, and compostable films.
- Online Retailers: E-commerce platforms provide the widest selection, often including niche brands and bulk options not found locally. This is particularly useful for sourcing specialized eco-friendly wraps or specific sizes and materials. When buying online, carefully read product descriptions, check certifications (FDA, LFGB), and review customer feedback to ensure quality and safety. Compare prices and shipping costs to get the best value.
DIY Food Wrap Drawer Organization: Taming the Chaos
Now that you’re an expert on food wraps, let’s tackle the heart of the problem: that messy drawer. A well-organized drawer can save you time, reduce frustration, and even extend the life of your wraps. The beauty of DIY solutions is that they can be customized to your specific drawer dimensions and the items you need to store.
Understanding Your Drawer’s Challenge
The main culprits behind a messy food wrap drawer are inconsistent box sizes, the tendency for rolls to unravel, and a lack of dedicated compartments. Without proper structure, boxes slide around, rolls get crushed, and finding the right wrap becomes a chore. DIY organization aims to create specific homes for each item, preventing movement and making everything easily accessible.
Method 1: Custom Compartments with Vinyl Fence Posts
This ingenious DIY method creates sturdy, custom-sized compartments perfect for deep drawers or cabinets.
- Materials Needed:
- Vinyl fence posts (typically found in fencing departments at home improvement stores)
- Saw (or ask for cuts at the store)
- Strong adhesive or putty (to secure pieces)
- Binder clips (optional, for labeling)
- Steps:
- Measure and Cut: Measure the depth and width of your drawer. Determine how many compartments you need and the ideal length for each piece of fence post to fit snugly. Have the vinyl fence posts cut into these desired lengths. For instance, if you want several side-by-side compartments for standard wrap boxes, you’d cut pieces slightly shorter than your drawer’s depth.
- Assemble and Adhere: Arrange the cut pieces inside your drawer to create individual “slots” or channels for your wrap boxes. Once satisfied with the layout, use a strong adhesive or putty to join the pieces together and to the bottom of the drawer (if permanent) or to each other (if removable). Allow it to dry completely.
- Label (Optional): Use binder clips on the front of each compartment to hold small labels indicating “Foil,” “Plastic Wrap,” “Parchment Paper,” etc., for quick identification.
- Benefits: This method creates extremely sturdy and customized compartments, preventing boxes from shifting. It offers excellent visibility and easy retrieval, making your drawer feel like a professionally organized space.
Method 2: Crafting Dividers from Cardboard or Foam Board
For a simple, inexpensive, and highly customizable solution, cardboard or foam board dividers are a fantastic choice.
- Materials Needed:
- Sturdy cardboard (from old shipping boxes) or foam board
- Ruler and pencil
- Utility knife or strong scissors
- Strong craft glue or double-sided tape
- Steps:
- Measure Your Drawer: Measure the inside dimensions (length, width, and height) of your drawer.
- Design Your Grid: Decide on the layout of your compartments. Do you want long channels for horizontal storage, or a grid for vertical storage? Sketch it out.
- Cut the Strips: Cut long strips of cardboard or foam board to the height of your drawer and the lengths required for your grid. For interlocking dividers, you’ll need to cut notches halfway through the height of some strips.
- Assemble the Dividers: Assemble your grid by slotting the notched pieces together or by gluing/taping them into place directly inside the drawer. Ensure they fit snugly to prevent movement.
- Benefits: This DIY allows for infinite customization to fit any drawer size and any combination of wrap boxes. It’s incredibly budget-friendly and uses recycled materials, making it an eco-conscious choice.
Method 3: Upcycling Boxes for Instant Dividers
Give new life to old boxes by repurposing them into quick and easy drawer organizers.
- Materials Needed:
- Empty cereal boxes, shoeboxes, gift boxes, or other sturdy cardboard boxes
- Ruler and utility knife/scissors
- Decorative paper, contact paper, or paint (optional, for aesthetics)
- Glue (if decorating)
- Steps:
- Select Boxes: Choose boxes that are roughly the right size for your wraps. Cereal boxes work well for standard rolls, while shoeboxes can hold larger items or multiple smaller ones.
- Trim to Height: Cut the boxes down so their height matches the interior height of your drawer, allowing you to easily see and grab items.
- Decorate (Optional): If you want a more polished look, cover the boxes with decorative paper, contact paper, or paint them to match your kitchen decor.
- Arrange in Drawer: Place the trimmed boxes inside your drawer, arranging them to create compartments for your foil, plastic wrap, parchment paper, and other items. You can glue them together or to the drawer bottom for added stability, or simply let them sit loosely for flexibility.
- Benefits: This is a zero-cost, eco-friendly solution that’s incredibly simple and quick to implement. It’s perfect for temporary organization or if you frequently change your drawer’s contents.
Method 4: Vertical Storage with Magazine Holders
While often used for magazines or files, these holders can be repurposed for wraps, especially in deeper drawers or pantry shelves.
- Materials Needed:
- Inexpensive magazine holders or file sorters (plastic, metal, or cardboard)
- Steps:
- Position: Stand the magazine holders vertically inside a deep drawer, cabinet, or pantry shelf.
- Insert Wraps: Slide your food wrap boxes into the compartments of the magazine holder. Their vertical orientation keeps them neat and prevents them from unraveling.
- Benefits: This method is excellent for maximizing vertical space and keeping boxes upright. It’s a versatile solution that can be easily moved or repurposed if your needs change.
Smart Storage Hacks for All Wraps
Beyond specific DIY projects, these general tips will help ensure your food wrap organization stands the test of time:
- Declutter First: Before you start organizing, remove everything from your drawer. Discard empty boxes, nearly finished rolls, or any items you rarely use. This creates a fresh start and ensures you’re only organizing what you truly need.
- Measure Your Space: Always measure your drawer’s interior dimensions (length, width, and height) before undertaking any DIY project. This ensures your custom solutions fit perfectly.
- Categorize and Group: Keep similar items together. Store all your plastic wraps in one section, foil in another, and parchment paper or wax paper separately. This systematic grouping makes finding what you need effortless.
- Label Everything: Even with clear dividers, labels provide instant identification, especially useful for guests or if you have multiple brands of similar wraps. Binder clips, sticky labels, or even masking tape can work.
- Maintain Regularly: Organization isn’t a one-time task. A quick tidy-up every few weeks—or whenever you replace a roll—prevents chaos from creeping back into your beautifully organized drawer.
Food Wrap Comparison Table
| Brand Type | Material | Size (Estimated) | Price (Estimated) | Pros | Cons |
|---|---|---|---|---|---|
| Wrap-It | PE | 12 in x 250 ft | $3 – $5 USD | Affordable, widely available, good for general use | Moderate cling, less durable than heavy-duty options |
| Glad | PE (sometimes PVC variants) | 12 in x 200 ft | $4 – $7 USD | Good cling, reliable performance, often microwave-safe varieties | Some PVC versions may contain plasticizers, check labels |
| Press’n Seal | PE | 12 in x 140 ft | $5 – $8 USD | Strongest cling, creates a tight seal, versatile | Higher price point, not biodegradable |
| Beeswax Wrap | Beeswax, Cotton | Varies (e.g., 3-pack with different sizes) | $15 – $25 USD | Eco-friendly, reusable, breathable, natural | Not for hot food/microwave, higher upfront cost, requires handwashing |
Food Wrap Buying Guide
When you’re ready to purchase food wraps, whether for the first time or to restock, consider these factors to make the best choice for your kitchen:
- Determine Your Usage Needs: What will you primarily use the wrap for? (e.g., Covering leftovers, wrapping sandwiches, baking, freezing, microwaving). Your primary needs will dictate the best material.
- Choose the Right Material:
- PE (Polyethylene): Best for general-purpose food storage, often microwave-safe.
- PVC (Polyvinyl Chloride): High cling, but be mindful of plasticizer content if health is a concern; typically for commercial use.
- Silicone: Excellent for reusable, high-heat applications, and airtight seals.
- Beeswax: Ideal for natural, breathable storage of fresh produce, bread, and cheese, focusing on sustainability.
- Aluminum Foil: Best for high-heat cooking, grilling, and freezer storage.
- Consider Size: Select rolls or sets with dimensions appropriate for your common dishes and food items. Having a variety of sizes can be beneficial.
- Read Product Information Carefully: Always check for safety certifications like “FDA approved” or “LFGB certified.” Look for “BPA-free” and “phthalate-free” labels, especially for plastic wraps. Understand specific usage instructions, such as whether a wrap is microwave-safe or freezer-safe.
- Consult User Reviews: Online reviews can offer valuable insights into a product’s real-world performance, durability, and any potential issues not covered by manufacturer descriptions.
Conclusion
A disorganized food wrap drawer is a common source of kitchen frustration, but it doesn’t have to be a permanent fixture in your home. By embracing simple, cost-effective DIY solutions, you can transform this chaotic space into an efficient, accessible, and enjoyable part of your kitchen. Whether you opt for custom dividers made from vinyl fence posts, craft compartments from cardboard, or repurpose old boxes, the satisfaction of a tidy drawer is immense. Furthermore, understanding the different types of food wraps—from traditional plastics to innovative eco-friendly alternatives like silicone and beeswax—empowers you to make safer, more sustainable choices for your household. Invest a little time and creativity, and you’ll not only streamline your meal prep but also contribute to a clutter-free and more mindful kitchen environment. What’s your favorite DIY hack for keeping your wraps in order?
Frequently Asked Questions
What is the safest food wrap for health?
Generally, food-grade silicone wraps and beeswax wraps are considered among the safest due to their natural or stable inert materials, being free from BPA and phthalates. For plastic wraps, polyethylene (PE) labeled “microwave-safe” and “BPA/phthalate-free” is usually the safest option for single-use purposes. Always check for certifications like FDA or LFGB approval.
How can I prevent my food wraps from unrolling in the drawer?
To prevent rolls from unraveling, use drawer dividers (DIY or purchased) to create snug compartments for each box. You can also secure loose ends with a small rubber band, a clip, or by slightly tucking the end under the roll itself. Vertical storage, often achieved with DIY solutions, is particularly effective at keeping rolls contained.
Can I use plastic wrap in the microwave?
Only use plastic wrap explicitly labeled as “microwave-safe,” which is typically made from polyethylene. To ensure safety, avoid direct contact between the plastic wrap and food, especially fatty or sugary items. Also, poke a few holes in the wrap to allow steam to escape, and use low to medium power for short heating durations.
What are eco-friendly alternatives to plastic wrap?
Popular eco-friendly alternatives include reusable beeswax wraps (made from cotton, beeswax, resin, and oil), reusable silicone lids or wraps, glass containers with airtight lids, and compostable cling film made from plant-based materials. These options help reduce single-use plastic waste and promote sustainable kitchen practices.
How do I measure my drawer for DIY dividers?
To measure your drawer for DIY dividers, first, empty the drawer completely. Then, use a measuring tape to find the interior length, width, and height of the drawer. Accurately noting these dimensions will allow you to cut your divider materials (like cardboard or vinyl posts) to the precise sizes needed for a perfect, snug fit.