Imagine effortlessly assembling a show-stopping cake, knowing that its perfectly baked layers have been patiently waiting in your freezer, fresh as the day they were baked. Freezing cake layers is a game-changer for bakers, allowing you to prepare ahead, split your workload, and ensure a consistently moist and delicious result. But the secret to this culinary magic lies entirely in how you wrap them. Without proper technique, you risk the dreaded freezer burn, an uninvited guest that can ruin your hard work and leave your cake dry and flavorless. This comprehensive guide will walk you through every step to ensure your cake layers emerge from the freezer as perfect as they went in.
Understanding the Importance of Proper Cake Freezing
Freezing cake layers offers unparalleled convenience, making it easier to manage your time and reduce stress, especially for special occasions. Baking and frosting a cake on the same day can be a race against the clock, but preparing layers in advance allows you to tackle the decoration process with a clear head. Furthermore, cold or frozen cake layers are often firmer and less crumbly, making them significantly easier to handle, level, and frost, leading to a much neater final product.
However, freezing is only effective if done correctly. The primary enemy in your freezer is “freezer burn,” which occurs when food is exposed to air, causing moisture to evaporate and leading to dry, discolored, and unpalatable spots. Additionally, unwrapped or poorly wrapped cakes can absorb unpleasant odors from other foods in the freezer, tainting their delicate flavor. A robust, airtight seal is your best defense against these issues, preserving the cake’s moisture, texture, and taste for weeks or even months.
Essential Tools and Materials for Freezing Cake Layers
Achieving a perfect freeze for your cake layers requires a few key materials that act as barriers against the harsh freezer environment. Having these on hand before you begin will streamline the process and ensure maximum protection for your baked goods.
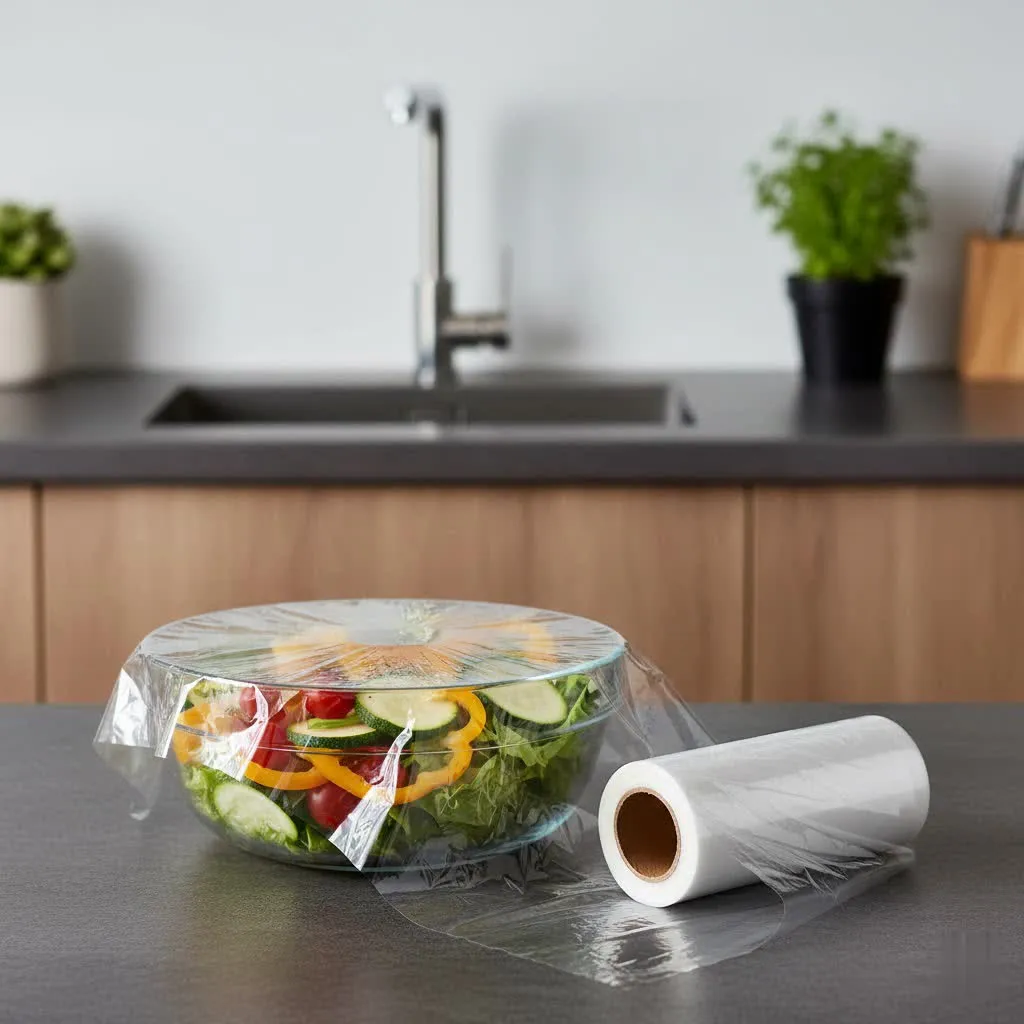
First, invest in high-quality plastic wrap that clings well and is specifically designed for freezer use. This will be your cake’s first, most crucial line of defense, creating a tight seal around the cake to lock in moisture. Next, you’ll need heavy-duty aluminum foil. This provides an additional protective layer, shielding the plastic wrap from punctures and adding another barrier against temperature fluctuations and odors.
For ultimate security, freezer-safe bags or airtight containers are highly recommended as a third layer of defense. These not only add an extra layer of insulation but also protect the cake from accidental bumps or squishing in a crowded freezer. Finally, cardboard cake rounds are invaluable for delicate layers or when stacking, providing structural support and preventing deformation. Don’t forget a permanent marker to clearly label your frozen treasures with the cake type and freeze date, ensuring you know exactly what you have and when it needs to be used by.
Step-by-Step Guide: How to Wrap a Cake Layer for Freezing Properly
The success of freezing cake layers hinges on a meticulous wrapping process. Each step builds on the last to create an impenetrable barrier that safeguards your cake’s flavor and texture.
Cooling the Cake Completely
|
Our Picks for the Best Food wrap in 2026
As an Amazon Associate I earn from qualifying purchases.
|
||
| Num | Product | Action |
|---|---|---|
| 1 | Plastic Food Wrap Thick Enough for daily use Stronger for Comercial Use Durable With Slide Cutter 12"wide 2000 Feet long Home and Commercial Use Food Service |

|
| 2 | Reynolds Kitchens Quick Cut Plastic Wrap, 225 Square Feet |
|
| 3 | Reynolds 912 Foodservice Clear Plastic Wrap Film, 15 inch Width, 2000 Feet |
|
| 4 | Amazon Basics Plastic Food Wrap, BPA Free, Microwave Safe with Tight Seal, 300 Sq Ft, Pack of 3, 100 Sq Ft Rolls |
|
| 5 | Kirkland Signature Food Wrap Premium |
|
| 6 | Amazon Basics Plastic Food Wrap, BPA Free, Microwavable, 200 Sq Ft, Pack of 1 |
|
| 7 | Glad Press'N Seal Food Plastic Wrap, 70 Square Foot Roll (Package May Vary) |
|
| 8 | Kirkland Signature Plastic Food Wrap - 6000 SQ. FT (2 Pack, 12" x 3000 SQ. FT Each) |
|
| 9 | Glad Cling N Seal Plastic Wrap for Food, Airtight Seal, 300 Square Foot Roll (Pack of 4) |
|
| 10 | Kirkland Signature Stretch Tite Plastic Food Wrap 11 7/8 Inch X 750 SQ. FT. Pack 2 |
|
This is perhaps the most critical initial step. After baking, allow your cake layers to cool completely on a wire rack until they reach room temperature. Rushing this process and wrapping a warm cake will trap steam and moisture, leading to condensation inside the wrapping, which can result in a soggy cake layer once thawed. Patience here pays off immensely in preventing a rubbery texture.
Leveling (Optional but Recommended)
For a more professional and stable cake assembly later, consider leveling your cake layers before freezing. Use a serrated knife or a dedicated cake leveling tool to trim off any domes. Leveling ensures your layers stack evenly, preventing leaning or gaps in your finished cake. Freezing a leveled cake also means one less step when you’re ready to decorate.
The First Layer: Snug Plastic Wrap
Once cooled, begin by wrapping each individual cake layer tightly in plastic wrap. The goal here is to create an airtight seal directly against the cake’s surface, leaving no gaps for air to sneak in. Wrap the cake at least twice, covering all sides and edges. Some experts recommend wrapping three times, changing direction with each pass, to ensure every part is covered and sealed. This layer is crucial for preventing moisture loss and maintaining the cake’s tenderness.
The Second Layer: Protective Aluminum Foil
Following the plastic wrap, encase each plastic-wrapped cake layer in a layer of heavy-duty aluminum foil. This foil layer serves as a robust shield, protecting the delicate plastic wrap from tears and punctures, which could compromise the airtight seal. It also adds an extra barrier against freezer odors and helps regulate the cake’s temperature, further preventing freezer burn. Ensure the foil is tightly crimped around the cake to maximize its protective qualities.
The Third Layer (Optional but Recommended): Freezer Bag or Airtight Container
For superior protection, especially if you plan to freeze cake layers for an extended period or if your freezer is prone to strong odors, consider a third layer. Place the double-wrapped cake layers into a freezer-safe zip-top bag, pressing out as much air as possible before sealing. Alternatively, a rigid, airtight container provides excellent physical protection against being crushed or jostled in the freezer. This extra layer acts as a final safeguard, ensuring your cake remains pristine.
Adding Stability (Optional)
If your cake layers are particularly delicate or if you plan to stack them in the freezer, placing a cardboard cake round beneath each wrapped layer can prevent bending or breaking. This small addition ensures your layers maintain their perfect shape, making assembly much smoother when it’s time to build your cake.
Labeling for Success
Before placing your meticulously wrapped cake layers into the freezer, always label them clearly. Use a permanent marker to note the type of cake (e.g., “Vanilla Layer”), the date it was frozen, and a “use-by” date (typically 1-3 months from the freezing date). This simple step prevents guesswork and helps you manage your frozen inventory, ensuring you use your cakes at their peak freshness.
Initial Freeze & Storage
For the initial freeze, place your individually wrapped cake layers on a flat baking sheet in the freezer. This ensures they freeze evenly and maintain their shape without being warped by other items. Once the layers are solidly frozen (after several hours or overnight), you can remove the baking sheet and stack them in the freezer to save space.
Freezing Different Cake Types
While the core principles of freezing cake layers remain consistent, slight adjustments can be made depending on the cake’s form and whether it’s frosted.
Unfrosted Cake Layers: These are the simplest to freeze and are ideal for make-ahead baking. Follow the step-by-step guide above, focusing on the double-wrap method (plastic wrap + foil) for optimal protection.
Frosted Cake Layers: If you wish to freeze cake layers that are already frosted, the process requires a preliminary step. First, place the frosted layers (unwrapped) on a baking sheet and freeze them until the frosting is firm to the touch, usually for 1-2 hours. This “flash freezing” prevents the frosting from sticking to the plastic wrap. Once firm, proceed with the double-wrapping method (plastic wrap followed by foil), ensuring a snug, airtight seal without disturbing the frosting.
Cupcakes: Individual cupcakes can also be frozen with great success. If unfrosted, wrap each cupcake tightly in plastic wrap, then place them in a freezer-safe bag or container. If frosted, flash freeze them on a baking sheet until firm, then wrap individually in plastic wrap before transferring to a freezer bag or container.
Whole Cakes or Slices: To freeze an entire frosted cake, flash freeze it until the frosting is solid, then wrap the whole cake meticulously in multiple layers of plastic wrap and foil. For individual slices, wrap each piece tightly in plastic wrap and then foil before placing them in a freezer bag or container. This allows for convenient portion control and reduces waste.
How Long Can You Freeze Cake Layers?
The longevity of your frozen cake layers largely depends on the quality of your wrapping. With proper care, unfrosted cake layers can be stored in the freezer for a considerable amount of time. Generally, unfrosted cake layers will maintain their optimal quality and flavor for 1 to 3 months. Some experienced bakers suggest that exceptionally well-wrapped layers can last up to 6 months without significant degradation.
Frosted cakes, or those with fillings, typically have a slightly shorter freezer life, usually remaining fresh for up to 3 months. Beyond these recommended timeframes, while the cake may still be safe to eat, its texture and flavor might start to diminish due to prolonged exposure to the freezer environment, even with excellent wrapping. Always consult your labels to ensure you’re using your frozen layers within their prime.
Thawing Your Frozen Cake Layers Correctly
The thawing process is just as crucial as the freezing process for maintaining the integrity and moisture of your cake layers. Improper thawing can quickly lead to a soggy texture or dryness, negating all your careful preparation.
The golden rule for thawing is to keep the cake layers wrapped. This is vital because as the cake thaws, condensation will form on the outside of the wrapping. If the cake is unwrapped, this moisture will collect directly on the cake, making it damp and sticky.
To thaw, transfer the wrapped cake layers from the freezer to the refrigerator at least 8 hours or overnight before you plan to use them. This slow, gradual thawing in a cool environment minimizes condensation and prevents rapid temperature changes that can affect texture. Alternatively, you can move the wrapped layers from the freezer directly to room temperature for several hours until completely thawed. Once fully thawed, unwrap the cake layers, and they will be ready for leveling (if not done previously), filling, and frosting. The cake will be cool and firm, making it very easy to work with.
Common Mistakes to Avoid When Freezing Cake Layers
Even with the best intentions, small errors can compromise your efforts to perfectly freeze cake layers. Being aware of these common pitfalls can save you from disappointment.
The most frequent mistake is wrapping warm cakes. As emphasized, trapped heat creates condensation, leading to a soggy, undesirable texture. Always wait until your cakes are completely cool to the touch. Another common error is insufficient wrapping. A single layer of plastic wrap is simply not enough to protect against freezer burn and odor absorption over time. Always opt for multiple layers of protection – at minimum, double plastic wrap followed by foil.
Not labeling your cakes is a frustrating oversight. Without a clear label indicating the cake type and freeze date, you might end up with mystery cake layers and exceed their optimal storage time. Lastly, thawing incorrectly can ruin an otherwise perfectly frozen cake. Unwrapping a cake while it’s still frozen allows condensation to form directly on the cake, resulting in a wet surface. Always thaw cakes while they are still in their protective wrapping to allow condensation to form on the outside.
Where to Find Quality Freezing Supplies
Finding the right supplies for freezing your cake layers is straightforward, as most are readily available at common retail locations. You can purchase reliable plastic wrap, heavy-duty aluminum foil, and various freezer-safe bags at almost any supermarket or grocery store. Look for brands that specifically mention “freezer safe” or “heavy duty” for optimal protection.
For more specialized items like cardboard cake rounds or a wider selection of airtight containers in various sizes, specialty baking supply stores or kitchenware retailers are excellent options. Online marketplaces also offer a vast array of choices, often with customer reviews that can help you select the most effective and durable products for your freezing needs. When buying online, always verify product specifications and check user ratings to ensure quality.
Comparison of Cake Layer Freezing Methods
Choosing the right freezing method depends on how long you plan to store your cake layers and the level of protection you desire.
| Method | Materials | Protection Level | Ideal For | Notes |
|---|---|---|---|---|
| Double Plastic Wrap + Foil | Plastic wrap, aluminum foil | High | Long-term storage, delicate cakes | Most recommended for maximum protection against freezer burn and odors. |
| Plastic Wrap + Freezer Bag | Plastic wrap, freezer bag | High | Shorter-term storage, space saving | Good for less delicate items, easy stacking. Ensure air is removed from the bag. |
| Plastic Wrap + Airtight Container | Plastic wrap, airtight container | Very High | Maximum protection, specific shapes | Bulky but offers superior physical protection and insulation. Best for very delicate or oddly shaped items. |
| Single Plastic Wrap | Plastic wrap | Low | Short-term (1-2 days fridge), not recommended for freezing | Insufficient for freezer burn prevention and odor protection in the freezer. |
Buying Guide for Cake Freezing Essentials
Selecting the best materials for freezing your cake layers ensures freshness and convenience. Consider your specific needs when stocking up on freezing essentials.
First, determine your usage needs. Are you freezing a single layer for a quick dessert, or several layers for a large event cake? This will dictate the quantity and size of materials you require. Next, prioritize quality materials. Opt for heavy-duty plastic wrap that forms a strong seal and robust aluminum foil to provide ample protection against freezer burn. For containers, choose freezer-safe options that are sturdy and seal tightly.
Consider the size and shape of your cake layers. Ensure your plastic wrap is wide enough to cover the entire layer, and that your freezer bags or containers can accommodate the layers without squishing. Finally, read product information and user reviews to confirm the effectiveness and durability of the freezing supplies. Looking for FDA-approved materials or those specifically designed for long-term food storage can provide added assurance.
“Màng bọc thực phẩm giúp bảo quản thực phẩm tươi ngon lâu hơn, giảm lãng phí thực phẩm.” – Nguyễn Văn A, Chuyên gia về an toàn thực phẩm
Freezing cake layers properly is a skill that empowers any home baker. By following these guidelines, you not only preserve the incredible taste and texture of your creations but also gain the flexibility to bake ahead, making your baking journey more enjoyable and less stressful. With your perfectly preserved cake layers, you’re always just a thaw away from a delicious celebration. What exciting cake creation will you freeze next?
Frequently Asked Questions
What is the safest type of food wrap for freezing cake layers?
The safest and most effective method involves a multi-layered approach: first, a tight wrap of high-quality plastic wrap directly against the cake, followed by a layer of heavy-duty aluminum foil. This combination provides excellent protection against freezer burn and prevents the absorption of unwanted odors, ensuring your cake layers stay fresh.
How do you prevent freezer burn on cake layers?
Preventing freezer burn primarily relies on creating an airtight seal around your cake layers. Ensure cakes are completely cool before wrapping. Then, use multiple layers of protection: a snug layer of plastic wrap directly on the cake, followed by heavy-duty aluminum foil, and for extra security, placing the wrapped cake in a freezer-safe bag or airtight container.
Should I freeze cake layers before leveling?
It is generally recommended to level your cake layers before freezing. Leveling them when they are fresh from the oven and still somewhat pliable, but completely cooled, makes the process easier. Freezing already-leveled layers also streamlines the assembly process when you’re ready to decorate your cake, saving you time.
Can I freeze a cake with frosting on it?
Yes, you can freeze a cake with frosting on it. The key is to flash freeze the frosted cake first by placing it unwrapped in the freezer until the frosting is firm. Once firm, wrap the cake tightly in plastic wrap, then aluminum foil, before returning it to the freezer. This prevents the frosting from sticking to the wrapping.
How long does it take for a cake layer to thaw?
A frozen cake layer typically takes several hours to thaw completely at room temperature or overnight in the refrigerator. Always thaw the cake while it is still in its original wrapping to manage condensation. The exact time can vary depending on the cake’s size and density, as well as the ambient temperature.
